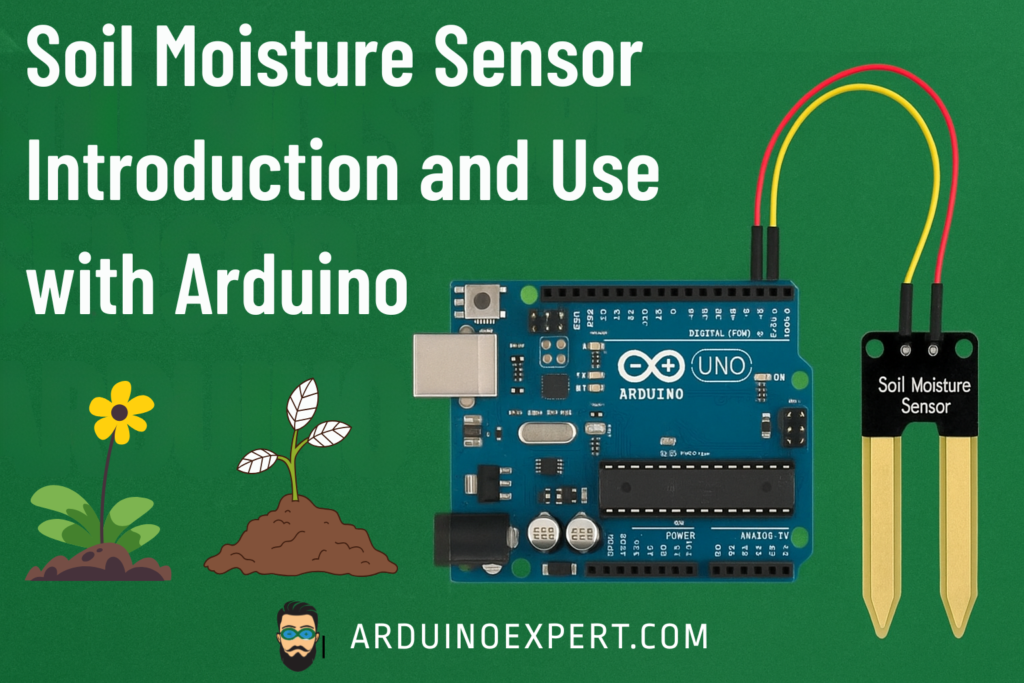
Monitoring soil moisture is one of the most crucial aspects of modern agriculture, gardening, and IoT-based smart irrigation systems. With the help of a Soil Moisture Sensor Arduino setup, you can easily measure how much water is present in the soil and automate irrigation to keep your plants healthy.
In this blog, we’ll explore what a soil moisture sensor is, its types, how to interface a capacitive soil moisture sensor with Arduino, and its real-world applications.
Working Principle of Soil Moisture Sensors
Soil moisture sensors work by detecting the dielectric permittivity of the soil, which changes depending on the amount of water present. Water has a high dielectric constant compared to dry soil, so the sensor can estimate the moisture level based on how easily current or capacitance changes in the soil medium.
Types of Soil Moisture Sensors
There are mainly two types of soil moisture sensors commonly used with Arduino:
1. Resistive Soil Moisture Sensor
- Working Principle: Measures the resistance between two metal probes inserted into the soil.
- Output: Analog voltage (varies with soil moisture).
- Pros: Low cost and easy to use.
- Cons: Metal probes corrode over time, reducing accuracy and lifespan.
- Use Case: Suitable for basic DIY projects and small gardens.
2. Capacitive Soil Moisture Sensor
- Working Principle: Uses a capacitor to sense changes in soil’s dielectric constant. As moisture increases, capacitance changes.
- Output: Analog signal corresponding to moisture level.
- Pros: Long-lasting, corrosion-resistant, more accurate.
- Cons: Slightly more expensive than resistive type.
- Use Case: Ideal for long-term Arduino IoT projects and professional smart irrigation systems.
Interfacing Capacitive Soil Moisture Sensor with Arduino
Now let’s learn how to use a capacitive soil moisture sensor with Arduino.
Components Required for Arduino Soil Moisture Sensor
- Arduino UNO or Nano
- Capacitive Soil Moisture Sensor (Analog type)
- Jumper wires
- Breadboard
- 5V Power supply
- Water Pump (Optional)
Circuit Diagram of Soil Moisture Sensor with Arduino
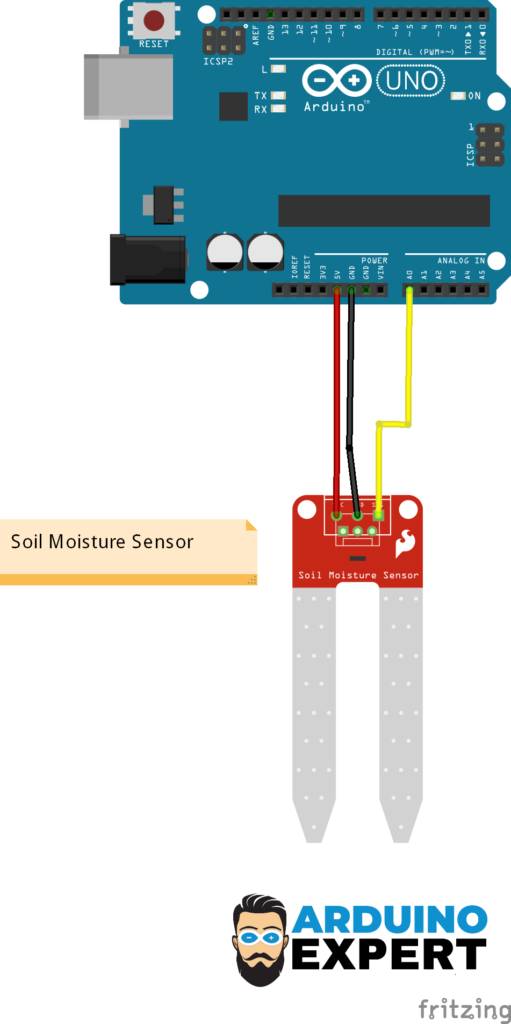
| Capacitive Sensor Pin | Arduino Pin |
|---|---|
| VCC | 5V |
| GND | GND |
| AOUT | A0 (Analog pin) |
Arduino Code Soil Moisture Sensor
#define SENSOR_PIN A0  // Analog pin for sensor
int sensorValue = 0;   // Variable to store sensor reading

void setup() {
  Serial.begin(9600);
  Serial.println("Soil Moisture Sensor Arduino Test");
}

void loop() {
  sensorValue = analogRead(SENSOR_PIN);
  Serial.print("Soil Moisture Value: ");
  Serial.println(sensorValue);

  // Optional: convert value to percentage (approximation)
  int moisturePercent = map(sensorValue, 1023, 200, 0, 100);
  Serial.print("Moisture Level: ");
  Serial.print(moisturePercent);
  Serial.println("%");

  delay(1000);
}
- The sensor gives an analog voltage output proportional to the soil moisture.
- The
analogRead()function reads this value (0–1023). - The
map()function converts it into a rough percentage for easy understanding. - You can adjust the
map()range according to your sensor’s calibration.
Working Video of Soil Moisture Sensor Arduino
Applications of Soil Moisture Sensor Arduino
- Automatic Irrigation Systems:
Water the plants only when the soil is dry — saving water and energy. - Smart Agriculture & IoT:
Combine with Wi-Fi modules like ESP8266 or ESP32 to send real-time soil data to IoT platforms such as Blynk, ThingSpeak, or Adafruit IO. - Greenhouse Monitoring Systems:
Maintain optimal soil conditions for crops by continuously tracking moisture levels. - Soil Testing Devices:
Portable testers for checking soil conditions before plantation. - Educational and DIY Projects:
Great for learning environmental sensing and automation with Arduino.
Connecting Soil Moisture Sensor to IoT Platforms
For advanced applications, you can integrate your Soil Moisture Sensor Arduino project with cloud platforms such as:
- Blynk: Create mobile dashboards to monitor moisture and control pumps remotely.
- ThingSpeak: Log data and visualize graphs over time.
- Adafruit IO: Easily connect multiple IoT devices for farm-wide monitoring.
- Custom Web Apps or Dashboards: You can even design your own monitoring site using ESP32 or NodeMCU boards.
These integrations enable real-time control and monitoring — turning your traditional garden into a smart automated ecosystem.
Conclusion
A Soil Moisture Sensor Arduino setup is one of the best and easiest ways to bring intelligence to irrigation systems. Whether you’re an IoT hobbyist or a professional working on smart farming solutions, the capacitive soil moisture sensor provides accuracy, reliability, and easy interfacing with Arduino boards.
By using these sensors, you can conserve water, improve plant health, and collect valuable environmental data — making your projects more efficient and sustainable.
If you need Help regarding Arduino Soil Moisture Sensor, you can contact us through WhatsApp.