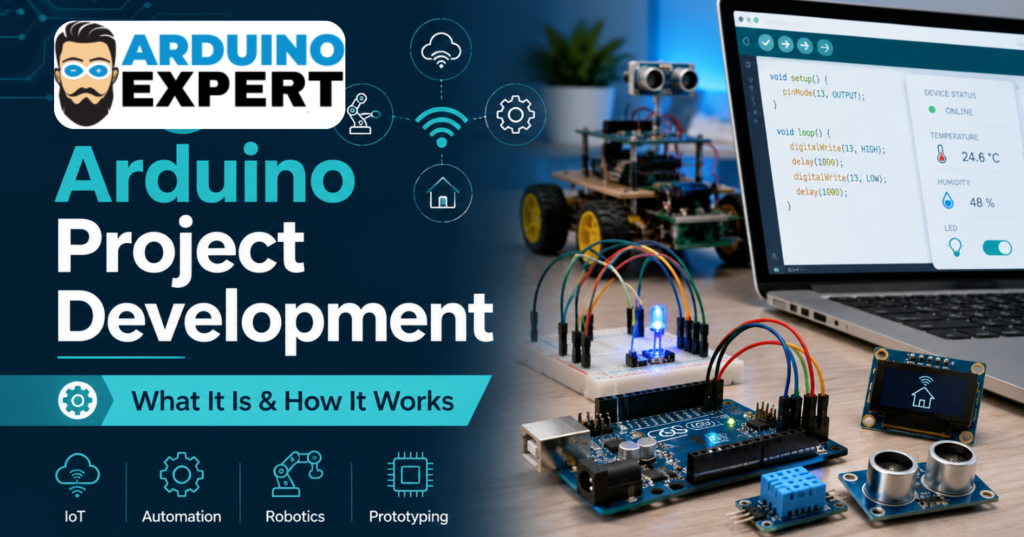
Arduino has made electronics easier for students, hobbyists, engineers, startups, and businesses. But building a reliable Arduino-based project is not just about connecting a few wires and uploading code. A real project needs proper planning, correct component selection, clean programming, testing, troubleshooting, and sometimes PCB design, enclosure design, mobile app integration, or cloud connectivity.
This is where Arduino project development becomes important.
In simple words, Arduino project development is the complete process of turning an idea into a working electronic system using Arduino or compatible microcontroller boards. It may be a small sensor-based project, a home automation device, an IoT monitoring system, a robotics project, or even a full product prototype.
For people who do not have the technical skills, tools, or time to build everything themselves, a professional Arduino project development service can help convert their concept into a functional and tested solution.
What Is Arduino Project Development?
Arduino project development means designing and building a custom electronic project using Arduino hardware, sensors, modules, actuators, displays, communication devices, and custom code.
A simple Arduino project may include:
- Arduino board
- Sensors
- Motors or relays
- Display module
- Power supply
- Arduino programming
- Basic testing
A more advanced project may include:
- Custom PCB design
- ESP32 or NodeMCU integration
- WiFi, Bluetooth, GSM, LoRa, or MQTT communication
- Mobile app or web dashboard
- Data logging
- Cloud database
- 3D printed enclosure
- Industrial automation control
- Complete product prototyping
So, Arduino project development is not limited to basic educational projects. It can also be used for real-world automation, monitoring, control systems, smart devices, and commercial prototypes.
Why Is Arduino Used for Project Development?
Arduino is popular because it is flexible, affordable, and suitable for quick prototyping. It allows developers to test an idea before investing in expensive hardware or full-scale manufacturing.
For example, if someone wants to build a smart irrigation system, they can first use Arduino with soil moisture sensors, a water pump, a relay module, and a display. Once the concept works, the same idea can be improved with WiFi connectivity, mobile app control, weather-based automation, and a custom PCB.
This makes Arduino useful for:
- Students working on academic projects
- Researchers building experimental systems
- Startups testing product ideas
- Businesses automating internal processes
- Farmers using smart agriculture systems
- Engineers developing proof-of-concept prototypes
- Product designers testing electronics before manufacturing
The main advantage is speed. Arduino helps you move from idea to prototype faster.
How Does Arduino Project Development Work?
Every successful Arduino project follows a proper development process. Random wiring and quick coding may work for small experiments, but serious projects need a structured approach.
Here is how a professional Arduino project development process usually works.
1. Understanding the Project Idea
The first step is to understand what the project should do.
This includes questions like:
- What problem will the project solve?
- Who will use it?
- What inputs are required?
- What output or action should happen?
- Will it need sensors?
- Will it control motors, lights, pumps, or machines?
- Should it connect to the internet?
- Does it need a mobile app or dashboard?
- Will it be a prototype or a final product?
For example, saying “I need an automation project” is too general. A better requirement would be:
“I need an Arduino-based system that monitors room temperature and automatically turns on a fan when the temperature goes above 30°C. I also want to see the temperature on an LCD display.”
Clear requirements help avoid confusion later.
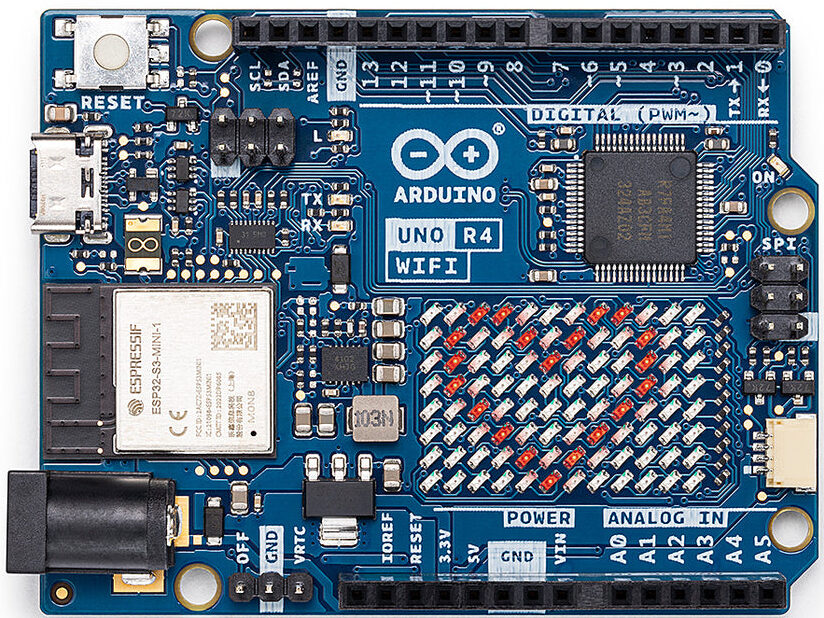
2. Selecting the Right Arduino Board and Components
After understanding the idea, the next step is component selection.
This is an important stage because the wrong component can create problems in accuracy, power consumption, cost, size, or performance.
Depending on the project, the developer may choose:
- Arduino Uno for basic projects
- Arduino Mega for projects needing more input/output pins
- Arduino Nano for compact projects
- ESP32 for WiFi and Bluetooth-based projects
- NodeMCU for IoT applications
- Sensors for temperature, humidity, gas, motion, distance, pressure, or water level
- Relays, motors, drivers, displays, buzzers, and communication modules
For example, if a project needs WiFi connectivity, using a basic Arduino Uno alone may not be the best option. ESP32 or NodeMCU may be more suitable because they already include wireless connectivity.
A good Arduino project development service does not just build the project. It also recommends the right hardware according to performance, budget, and future scalability.
3. Circuit Design and Wiring
Once the components are selected, the circuit is designed.
For small projects, this may start on a breadboard. For more professional work, a schematic diagram is prepared before wiring.
This step includes:
- Connecting sensors correctly
- Managing voltage levels
- Protecting the Arduino board
- Adding resistors, capacitors, drivers, or regulators where needed
- Ensuring proper grounding
- Avoiding loose or unsafe wiring
- Checking current requirements
Many beginners face issues because they connect modules directly without checking voltage and current limits. For example, motors and pumps should not usually be powered directly from an Arduino pin. They need drivers, relays, or external power circuits.
Good circuit design makes the project more stable and safe.
4. Arduino Programming and Firmware Development
Programming is the brain of the project.
Arduino code tells the hardware what to do, when to do it, and how to respond to different conditions.
The programming may include:
- Reading sensor values
- Controlling motors, lights, pumps, or relays
- Displaying data on LCD or OLED screens
- Sending data through WiFi, Bluetooth, GSM, or LoRa
- Saving data on memory cards or cloud servers
- Creating alerts through buzzer, SMS, email, or mobile app
- Handling errors and abnormal conditions
A simple project may need only a few lines of code. But advanced Arduino project development often requires proper firmware structure, functions, libraries, calibration, communication handling, and debugging.
Clean code is important because it makes the project easier to modify later.
5. Testing the Prototype
Testing is where the real work begins.
A project may look correct on paper, but actual hardware can behave differently. Sensors may give noisy readings. Motors may draw more current than expected. WiFi may disconnect. Power supply issues may reset the board.
During testing, the developer checks:
- Is the sensor reading correct?
- Does the output respond properly?
- Is the timing accurate?
- Is the power supply stable?
- Does the system work continuously?
- Are there any heating issues?
- Does the code handle errors?
- Is the project safe to use?
Testing helps improve reliability. This is especially important for automation, industrial monitoring, agriculture, robotics, and IoT systems.
6. Debugging and Optimization
Most Arduino projects need debugging before they become stable.
Common problems include:
- Wrong wiring
- Loose connections
- Incorrect sensor calibration
- Library conflicts
- Power supply issues
- Serial communication errors
- Weak WiFi signal
- Incorrect logic in code
- Module compatibility problems
Optimization may include improving code speed, reducing power consumption, making readings more accurate, or simplifying the circuit.
This step separates a basic working demo from a reliable project.
7. PCB Design for Professional Projects
Breadboard wiring is fine for testing, but it is not suitable for a final product or long-term use.
For professional Arduino project development, a custom PCB may be designed. A PCB makes the project cleaner, stronger, smaller, and easier to reproduce.
PCB design may include:
- Schematic design
- PCB layout
- Component placement
- Power circuit design
- Connectors
- Protection circuits
- Testing points
- Manufacturing files
If the project is planned for commercial use, PCB design is one of the most important stages. It turns a messy prototype into a professional electronic product.
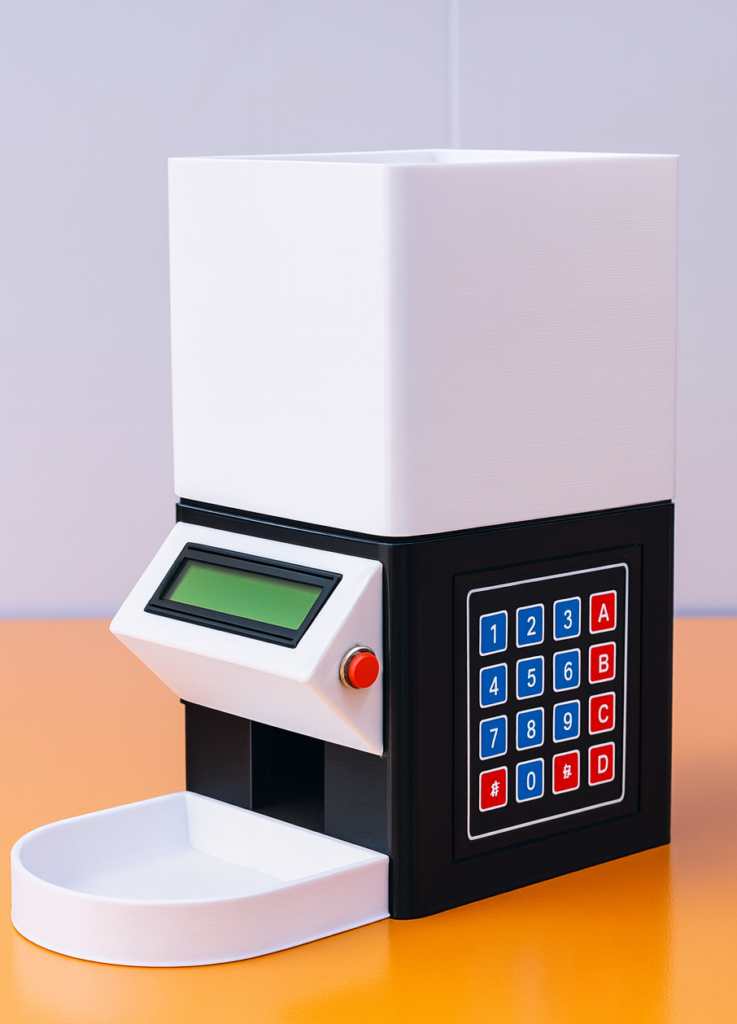
8. Enclosure Design and 3D Printing
A working circuit also needs physical protection.
An enclosure protects the electronics from dust, touch, moisture, impact, and accidental damage. It also makes the project look more professional.
For example, a smart irrigation controller should not remain open on a table. It needs a proper enclosure with holes for wires, buttons, indicators, and display.
Depending on the project, enclosure development may include:
- 3D CAD design
- 3D printing
- Mounting holes
- Display cutouts
- Button placement
- Ventilation
- Branding or labeling
This is especially useful when the project is being shown to clients, investors, teachers, or customers.
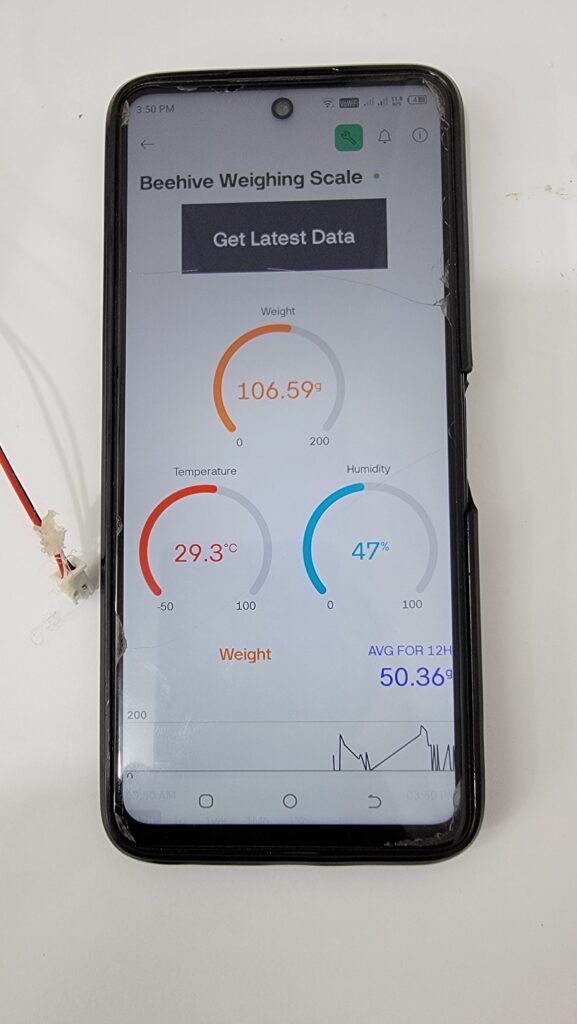
9. App, Web Dashboard, or Cloud Integration
Many modern Arduino projects are connected projects.
For example, a user may want to monitor temperature from a mobile phone, control a machine through a web dashboard, or store sensor data online.
In this case, Arduino project development may include:
- ESP32 or NodeMCU programming
- Mobile app development
- Web dashboard development
- Cloud database integration
- MQTT communication
- API integration
- Real-time monitoring
- Remote control features
This is common in IoT project development, smart farming, industrial monitoring, home automation, and energy monitoring systems.
10. Final Testing and Delivery
Before delivery, the complete system should be tested again.
Final testing may include:
- Hardware testing
- Code testing
- Sensor calibration
- Power testing
- User testing
- Long-duration testing
- Documentation
- Final improvements
A professional Arduino project development service should also explain how to use the project, how to power it, what precautions to follow, and how future changes can be made.
Examples of Arduino Project Development
Arduino can be used in many types of projects. Some common examples include:
Home Automation Projects
Arduino can control lights, fans, appliances, doors, alarms, and other home devices. With WiFi modules, these systems can also be controlled from a mobile app.
Smart Irrigation Systems
Arduino can monitor soil moisture and automatically control water pumps or valves. This is useful for gardens, farms, greenhouses, and agriculture automation.
IoT Monitoring Systems
Arduino or ESP32 can collect data from sensors and send it to a web dashboard or cloud server. This is useful for temperature monitoring, air quality monitoring, water level monitoring, and industrial data logging.
Robotics Projects
Arduino is commonly used in robots because it can control motors, read sensors, detect obstacles, follow lines, and communicate with other modules.
Industrial Automation Projects
Arduino-based systems can monitor machines, count production, trigger alarms, control relays, and automate repetitive tasks. For more demanding applications, the design needs stronger hardware, proper protection, and reliable programming.
Student and Research Projects
Many students use Arduino for final year projects, university assignments, engineering models, and research prototypes. It helps them demonstrate real hardware-based solutions.
Why Hire an Arduino Project Development Service?
Some people try to build Arduino projects themselves, which is good for learning. But when the project is important, complex, or time-sensitive, hiring experts can save time and reduce mistakes.
A professional Arduino project development service can help with:
- Choosing the right components
- Writing clean Arduino code
- Designing stable circuits
- Building working prototypes
- Debugging hardware and software issues
- Designing custom PCBs
- Adding IoT or mobile app features
- Improving reliability
- Preparing the project for presentation or production
This is especially useful if you have an idea but do not know how to convert it into a working system.
Arduino Project Development for Startups and Businesses
For startups and businesses, Arduino project development is often the first step toward product development.
Before spending money on mass production, a working prototype helps answer important questions:
- Does the idea actually work?
- Will users understand the product?
- Is the hardware cost acceptable?
- Can the design be improved?
- Is the product ready for PCB and enclosure design?
- Can it be manufactured later?
A prototype reduces risk. It gives the business something real to test, present, improve, and discuss with investors or customers.
Common Mistakes in Arduino Project Development
Many projects fail because of small mistakes made in the beginning.
Some common mistakes include:
- Selecting the wrong board
- Using low-quality components
- Ignoring power requirements
- Writing messy code
- Not testing the project properly
- Using breadboard wiring for final use
- Not planning future upgrades
- Skipping documentation
- Not protecting the circuit
- Expecting a prototype to behave like a finished product
A structured development process helps avoid these problems.
How Much Does Arduino Project Development Cost?
The cost of Arduino project development depends on the project requirements.
A simple sensor project may cost less because it needs fewer components and less programming time. A complete IoT product with app integration, PCB design, enclosure design, and testing will cost more.
The main cost factors include:
- Project complexity
- Number of sensors and modules
- Type of microcontroller
- Communication requirements
- App or dashboard integration
- PCB design
- Enclosure design
- Testing requirements
- Documentation
- Future support
The best way to estimate cost is to share the project idea, required features, and expected output with the development team.
Final Thoughts
Arduino project development is a practical way to turn ideas into working electronic systems. Whether you need a simple academic project, a smart automation system, an IoT device, a robotics project, or a complete product prototype, Arduino provides a flexible starting point.
However, a successful project needs more than just hardware and code. It needs planning, correct component selection, circuit design, programming, testing, debugging, and sometimes PCB design, enclosure design, and app integration.
If you have an idea and want to convert it into a reliable working prototype, a professional Arduino project development service can help you move from concept to completion with fewer mistakes and better results.
At Arduino Expert, we help students, startups, researchers, businesses, and product developers build custom Arduino projects, automation systems, IoT solutions, robotics projects, and working prototypes according to their requirements.
Have an Arduino project idea?
Share your concept with us, and we will help you turn it into a working prototype or complete electronic solution. Whether you need Arduino coding, circuit design, PCB design, IoT integration, automation, or full product development, our team can guide you from the first idea to the final result.