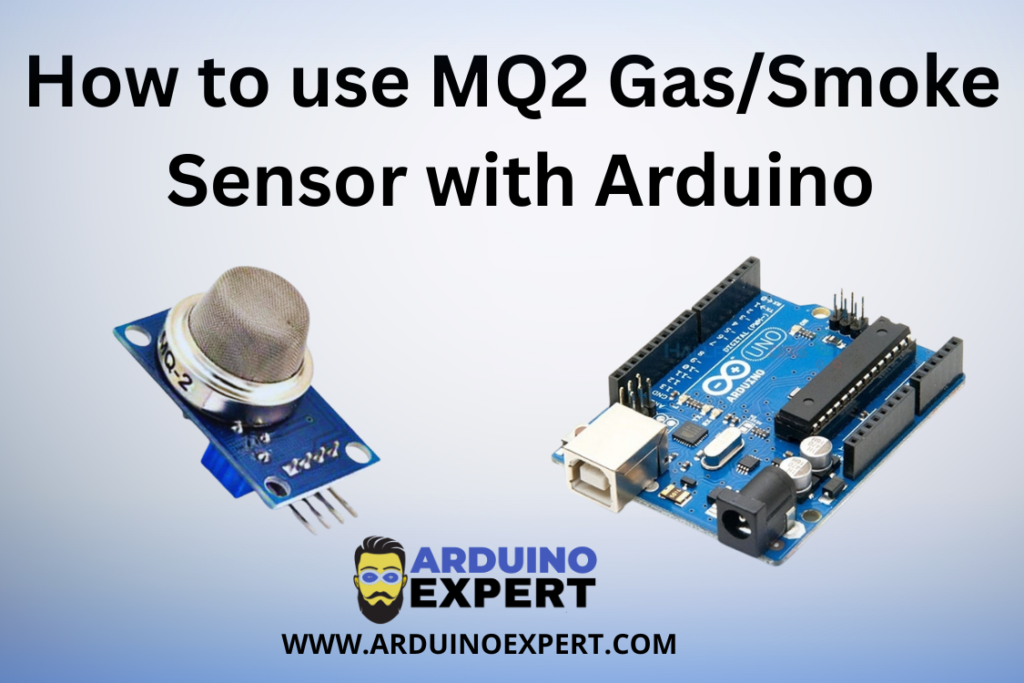
The MQ2 Gas Smoke Sensor is a widely used gas and smoke sensor capable of detecting combustible gases like LPG, propane, methane, hydrogen, alcohol, and smoke particles in the air. It is commonly used in safety systems such as smoke detectors, gas leak alarms, and air quality monitoring devices.
In this tutorial, you will learn how to connect the MQ2 sensor to an Arduino, read its output using both analog and digital pins, and trigger alerts using LEDs or buzzers. This project is ideal for beginners and DIY safety system developers.
What is MQ2 Gas Smoke Sensor?
MQ2 is one of the popular and commonly used gas sensors in MQ sensor series. It is a Metal Oxide Semiconductor (MOS) type Gas Sensor also known as Chemiresistors. The detection is based upon change of resistance of the sensing material when the Gas comes in contact with the material. Using a simple voltage divider network, concentrations of gas can be detected.
MQ2 Gas sensor works on 5V DC and draws around 800mW. MQ2 Gas sensor can detect LPG, Smoke, Alcohol, Propane, Hydrogen, Methane and Carbon Monoxide concentrations anywhere from 200 to 10000ppm.
Here are the complete specifications
| Operating voltage | 5V |
| Load resistance | 20 KΩ |
| Heater resistance | 33Ω ± 5% |
| Heating consumption | <800mw |
| Sensing Resistance | 10 KΩ – 60 KΩ |
| Concentration Scope | 200 – 10000ppm |
| Preheat Time | Over 24 hour |
Working Principle of MQ2 Gas Smoke Sensor:
The MQ2 sensor uses a chemically sensitive layer (SnO₂ – tin dioxide) that changes its resistance in the presence of combustible gases or smoke.
- In clean air, the sensor’s resistance is high.
- When smoke or gas is present, the resistance drops.
- The sensor outputs an analog voltage that varies with the gas concentration.
- The module also provides a digital output via an onboard comparator and adjustable potentiometer, which can be used to trigger alarms.
The sensor takes around 20 seconds to warm up for stable readings.

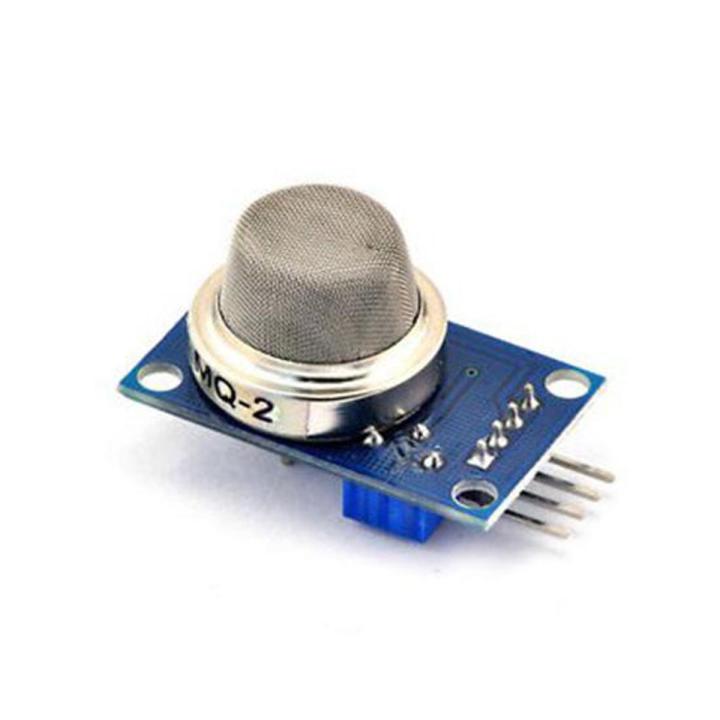
Hardware Overview MQ2 Gas Smoke Sensor Module:
Since MQ2 Gas Sensor is not compatible for breadboard. It’s very easy to use and it gives two different outputs. It gives a binary indication of the presence of combustible gases and also provide analog representation of their concentration in air.
When it sense the higher presence of gas it provide higher output voltage, while it sense the lesser presence of gas it provide less output voltage.
Calibration of MQ2 Gas Sensor Module:
To set the gas sensor you can hold the gas sensor near smoke/gas you want to detect. Turn the potentiometer until the Red LED on the module starts glowing. If you turn screw clockwise sensitivity increases or anticlockwise to decrease sensitivity.

MQ2 Gas Smoke Sensor Module Pinout:
- VCC supplies power for the module. You can connect it to 5V output from your Arduino.
- GND is the Ground Pin and connected to GND pin on the Arduino.
- D0 provides a digital output of the presence of combustible gases.
- A0 provides analog output voltage in proportional to the concentration of smoke/gas.

Components Required for Using MQ2 Gas Smoke Sensor with Arduino:
- Arduino UNO (or compatible board)
- MQ2 Gas/Smoke Sensor Module
- Breadboard
- Jumper wires
- LED and 220Ω resistor (optional)
- Buzzer (optional)
Circuit Diagram of MQ2 Gas Smoke Sensor with Arduino:
Connect the MQ2 sensor to Arduino as follows:
| MQ2 Pin | Arduino Pin |
|---|---|
| VCC | 5V |
| GND | GND |
| A0 | A0 |
| D0 | D2 (optional, for threshold alert) |

Arduino Code for MQ2 Gas Smoke Sensor:
int mq2Pin = A0;  // Analog pin for MQ2
int buzzerPin = 3; // Optional buzzer or LED pin

void setup() {
  Serial.begin(9600);
  pinMode(buzzerPin, OUTPUT);
}

void loop() {
  int sensorValue = analogRead(mq2Pin);
  float voltage = sensorValue * (5.0 / 1023.0);

  Serial.print("Sensor Value: ");
  Serial.print(sensorValue);
  Serial.print(" | Voltage: ");
  Serial.println(voltage);

  // Trigger alert if value crosses threshold
  if(sensorValue > 400){
    digitalWrite(buzzerPin, HIGH);
  } else {
    digitalWrite(buzzerPin, LOW);
  }

  delay(1000);
}
The output on Serial monitor is:
Calibration and Real-World Use
While the MQ2 can detect gas concentrations, precise measurements (in ppm) require:
- Calibration in a known gas environment
- Resistance values (Rs/Ro ratio)
- Advanced equations from the datasheet
However, for most DIY and hobbyist projects, analog values or threshold-based detection are sufficient.
Applications of MQ2 Sensor
- Smoke Detectors
- Gas Leak Alarms (LPG, methane, propane)
- Kitchen Safety Systems
- Air Quality Monitoring Devices
- Industrial Safety Equipment
Precautions for using MQ2 Gas Sensor with Arduino:
- Allow the sensor to warm up for 20–60 seconds before using it.
- Do not touch the sensor when powered—it gets hot.
- Avoid exposure to high concentrations of gas for long periods.
- Always test and calibrate your sensor before deployment in real-world safety applications.
Conclusion:
The MQ2 Smoke Sensor with Arduino is an easy and affordable way to detect harmful gases and smoke in the environment. Whether you’re building a fire alarm system, gas leak detector, or air quality monitor, this sensor provides an excellent foundation for your project.
You now know how to connect, read, and use this sensor both in analog and digital modes, and how to trigger alerts through a buzzer or LED. With a bit of tuning and calibration, it can become a critical part of your Arduino-based safety systems.
Need Help in Setup of MQ2 Gas Smoke Sensor with Arduino?
If you need any Help or Assistance for Setup of MQ2 Gas Smoke Sensor with Arduino, with Modifications or Customization then you can contact us through WhatsApp. We can deliver you this Project in the Following Ways.