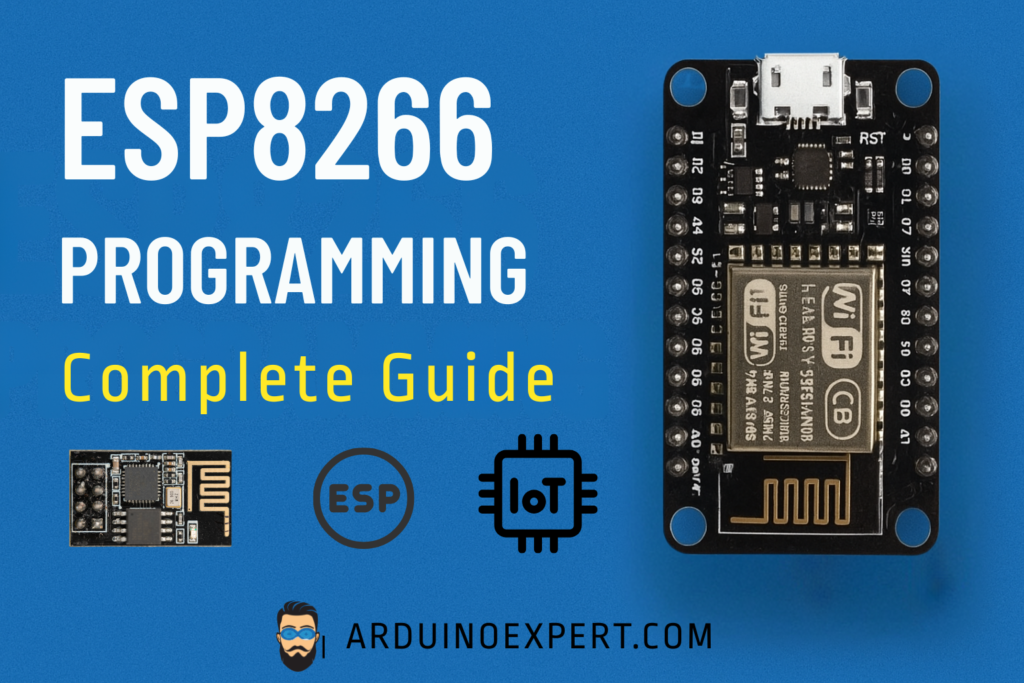
In the world of IoT (Internet of Things) and wireless communication, the ESP8266 microcontroller has become one of the most popular and cost-effective choices for developers, engineers, and hobbyists.
This guide explains everything you need to know about ESP8266 Programming — including how to program ESP8266 boards, the programming languages used, different board types, and their applications and benefits.

What is the ESP8266?
The ESP8266 is a low-cost Wi-Fi microchip developed by Espressif Systems. It has a built-in TCP/IP stack and microcontroller unit (MCU), which makes it capable of both connecting to Wi-Fi networks and controlling connected devices directly.
This means you can build standalone IoT projects such as smart home automation, wireless sensors, and remote monitoring systems — all with a single compact board.
Types and Categories of ESP8266 Boards
There are multiple development boards and modules based on the ESP8266 chip. Here are the most common ones:
1. ESP-01
- Basic module with 8 pins and limited GPIOs.
- Often used as a Wi-Fi module for Arduino boards.
2. NodeMCU (ESP-12E)
- The most popular and user-friendly board.
- Includes a built-in USB interface, voltage regulator, and plenty of GPIOs.
- Fully compatible with the Arduino IDE.
3. Wemos D1 Mini
- Compact version of NodeMCU.
- Ideal for small IoT devices and space-limited projects.
- Compatible with shields like OLED, relay, and sensors.
4. Adafruit HUZZAH ESP8266
- High-quality module from Adafruit with USB and power management.
- Perfect for reliable, long-term IoT deployments.
5. ESP-12, ESP-07, and Other Modules
- These are lower-level modules designed for embedding into custom PCB designs.
- Suitable for professional or commercial products.
Why Choose ESP8266 for IoT Projects?
The ESP8266 strikes the perfect balance between performance, price, and ease of use. Whether you’re creating a smart irrigation system, a remote monitoring sensor, or a custom Wi-Fi gadget, this tiny module makes IoT development accessible to everyone.
Its integration with the Arduino ecosystem makes programming simple and fun — even for beginners.

ESP8266 Programming – How It Works
Step 1: Choose Your ESP8266 Board
The most common development boards are NodeMCU and Wemos D1 Mini, both based on the ESP8266 chip. These boards come with built-in USB ports, voltage regulators, and pin headers for easy prototyping.
Step 2: Install Arduino IDE
You can program ESP8266 boards using the Arduino IDE, which makes it beginner-friendly and flexible.
- Download and install the Arduino IDE.
- Go to Tools → Board → Boards Manager and install ESP8266 by Espressif Systems.
Now you can select your specific board model, such as NodeMCU 1.0 (ESP-12E Module).
Step 3: Connect the ESP8266 Board
Use a Micro-USB cable to connect the board to your computer. Ensure proper drivers are installed (e.g., CH340 or CP2102 depending on your board).
Step 4: Write and Upload Your Code
You can write Arduino sketches (in C/C++) and upload them directly to the ESP8266.
Programming Languages for ESP8266
The ESP8266 supports several programming languages and frameworks depending on your project’s complexity:
| Language / Framework | Description | Ideal For |
|---|---|---|
| Arduino (C/C++) | Simplified C/C++ using Arduino IDE. Most popular and beginner-friendly. | Hobby projects and IoT prototypes |
| MicroPython | Python-based firmware for ESP8266. Allows scripting without compiling. | Quick prototyping and education |
| Lua (NodeMCU firmware) | Originally used on early NodeMCU boards. Lightweight scripting. | Simple Wi-Fi-enabled projects |
| AT Commands (via UART) | Use serial commands to communicate with ESP8266 as a Wi-Fi module. | Interfacing with another MCU like Arduino UNO |
| ESP-IDF (C) | Official SDK from Espressif. Provides low-level hardware control. | Advanced users and production-grade IoT |
Applications of ESP8266 Boards
The ESP8266 can be used in almost any IoT or wireless automation project. Some common ESP8266 applications include:
- Smart Home Automation: Control appliances, lights, and fans over Wi-Fi using a smartphone or voice assistant.
- IoT Sensor Networks: Collect temperature, humidity, or soil data and upload it to IoT platforms like ThingSpeak, Blynk, or Adafruit IO.
- Remote Data Monitoring: Use the ESP8266 to send sensor readings to cloud dashboards.
- Weather Stations: Measure and report environmental data in real time.
- Wireless Security Systems: Build motion or gas-leak detection systems that send alerts via Wi-Fi.
- Industrial Automation: Control and monitor processes remotely at low cost.

Benefits of Using ESP8266 Board
- Built-in Wi-Fi Connectivity: No need for external modules.
- Low Cost: Affordable for students, hobbyists, and startups.
- Low Power Consumption: Ideal for battery-powered IoT devices.
- Flexible Programming: Supports Arduino, Python, and other environments.
- Compact Design: Small enough to fit into custom embedded projects.
- Wide Community Support: Extensive tutorials, libraries, and forums available.
Conclusion
The ESP8266 is one of the most versatile and affordable microcontrollers for IoT development. Its built-in Wi-Fi, ease of programming, and support for multiple languages make it the perfect choice for both beginners and professionals. Whether you’re building a smart home device, data logging system, or a full-fledged IoT product, mastering ESP8266 Programming opens endless possibilities for innovation.
With boards like NodeMCU and Wemos D1 Mini, you can quickly develop, test, and deploy Wi-Fi-enabled projects using familiar tools like the Arduino IDE. The ESP8266 continues to empower makers worldwide by bridging the gap between creativity and connected technology — making IoT more accessible than ever before.
At Arduino Expert, we help transform ideas into tangible, production-ready products by merging 3D design expertise with our knowledge of electronics and Arduino systems.
If you’re looking to take your product from concept to reality, our team is here to guide you every step of the way. Contact us here.


