The Arduino programming language is one of the most beginner-friendly yet powerful ways to bring electronic projects to life. Whether you’re creating a simple LED blink circuit or a complex IoT device, Arduino gives you the flexibility to write, upload, and run your own code on microcontrollers.
At ArduinoExpert.com, we specialize in teaching, developing, and implementing Arduino programming for hobbyists, students, and businesses that want to innovate faster. In this guide, we’ll break down what the Arduino programming language is, how it works, and why it’s so popular.
What is the Arduino Programming Language?
The Arduino programming language is based on C/C++, but it’s simplified for ease of use. Arduino’s official Integrated Development Environment (IDE) provides a set of built-in functions, libraries, and hardware abstraction layers that make coding much easier compared to traditional embedded programming.
Instead of dealing with complex low-level microcontroller code, Arduino lets you focus on the logic and behavior of your project.
Why Learn Arduino Programming?
Learning Arduino programming offers several benefits:
- Beginner-Friendly – No deep electronics or coding background needed.
- Cost-Effective – Boards and components are affordable.
- Highly Flexible – Supports sensors, motors, displays, and communication modules.
- Large Community – Thousands of open-source projects and tutorials available.
- Fast Prototyping – Quickly test ideas without complex setup.
Basic Structure of Arduino Code
Arduino programs, called sketches, are written in the Arduino programming language (based on C/C++). Every sketch follows a standard structure that makes it easy to understand and run on any Arduino-compatible board.
The two main required functions in every Arduino sketch are:
setup()– Runs once when the board starts, used for initialization.loop()– Runs continuously, containing the main program logic.
1. Setup ( ) Function
- Purpose: Runs once when the Arduino board starts or is reset.
- Use Case: Used for initializing variables, setting pin modes, starting libraries, and setting up communication.
- Syntax
void setup() {
  // Code here runs once at the start
}
- Example
void setup() {
  pinMode(13, OUTPUT); // Set pin 13 as an output
  Serial.begin(9600);  // Start serial communication at 9600 baud
}
How it works:
When you power up the Arduino or press the reset button, the setup() function runs first. This ensures that all necessary settings (like pin configurations) are ready before the main program starts.
2. Loop () Function
- Purpose: Runs continuously after the
setup()function finishes. - Use Case: Contains the main logic of your program that should repeat indefinitely.
- Syntax:
void loop() {
  // Code here repeats forever
}- Example:
void loop() {
  digitalWrite(13, HIGH); // LED ON
  delay(1000);           // Wait 1 second
  digitalWrite(13, LOW);  // LED OFF
  delay(1000);           // Wait 1 second
}
How it works:
After the setup() function finishes, the Arduino enters the loop() function and executes its code repeatedly until the board is powered off.
Core Functions in Arduino Programming Language
Some of the most common functions include:
pinMode()– Set a pin as input or output.digitalWrite()– Turn a pin HIGH or LOW.digitalRead()– Read input from a digital pin.analogWrite()– Output a PWM signal.analogRead()– Read analog sensor values.delay()– Pause the program for a set amount of time.
Libraries in Arduino Programming
The Arduino IDE supports libraries that expand its functionality. Examples:
- Wire.h – For I2C communication.
- SPI.h – For SPI communication.
- Servo.h – For controlling servo motors.
- LiquidCrystal.h – For LCD displays.
With libraries, you can quickly integrate hardware without writing everything from scratch.
Applications of the Arduino Programming Language
You can use Arduino for:
- Product Design and Development – Smart Products.
- Home Automation – Smart lights, temperature control, door locks.
- Robotics – Line-following robots, obstacle avoidance, robotic arms.
- IoT Projects – Remote monitoring, environmental sensing, cloud integration.
- Wearable Tech – Health monitors, interactive clothing.
- STEM Education – Learning electronics and coding hands-on.
Getting Started with Arduino Programming
Here’s a quick roadmap:
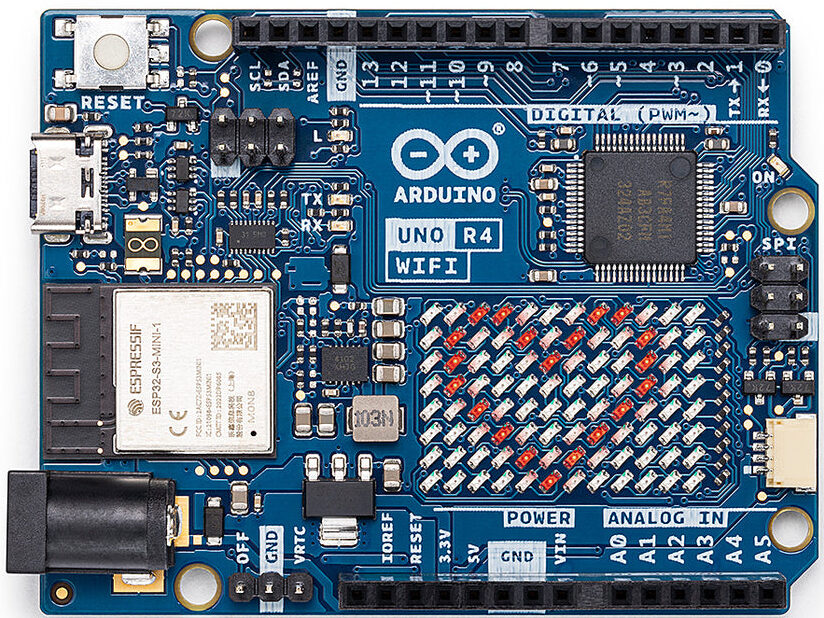
- Get an Arduino Board – Uno, Mega, Nano, or ESP32 (Arduino-compatible).
- Download Arduino IDE – From Arduino’s official website.
- Connect Your Board – Using a USB cable.
- Write Your First Sketch – Start with the Blink example.
- Upload & Test – See your code come to life.
Conclusion
The Arduino programming language bridges the gap between electronics and software, making innovation accessible to everyone. With its simplicity, flexibility, and massive community support, it’s the perfect platform for turning ideas into working prototypes.
At ArduinoExpert.com, we provide Arduino programming tutorials, custom project development, and professional consulting to help you succeed with your next creation. Learn More about the services we offer.


Where can I find a complete listening and examples of the language use the program the arduino R4 Minima