Interactive lighting solutions are rapidly transforming modern spaces such as smart homes, gaming zones, exhibition floors, retail showrooms, and entertainment venues. As part of our Product Design and Development Services, we successfully delivered a custom Arduino Smart Reactive RGB LED Lighting Floor Tiles system for one of our clients, designed to respond instantly to user interaction.
This project demonstrates how WS2812B addressable RGB LED strips, controlled by an Arduino UNO, can be used to build an intelligent and responsive Smart Lighting System. Each floor tile reacts independently through dedicated push buttons, triggering visually appealing color animations. The system is scalable, power-efficient, and ideal for commercial and artistic installations.
At Arduino Expert, such solutions fall under our Custom Electronics Project Services, where hardware design, firmware development, and animation logic are tailored to client requirements.

Project Overview || Smart RGB LED Lighting Floor Tiles
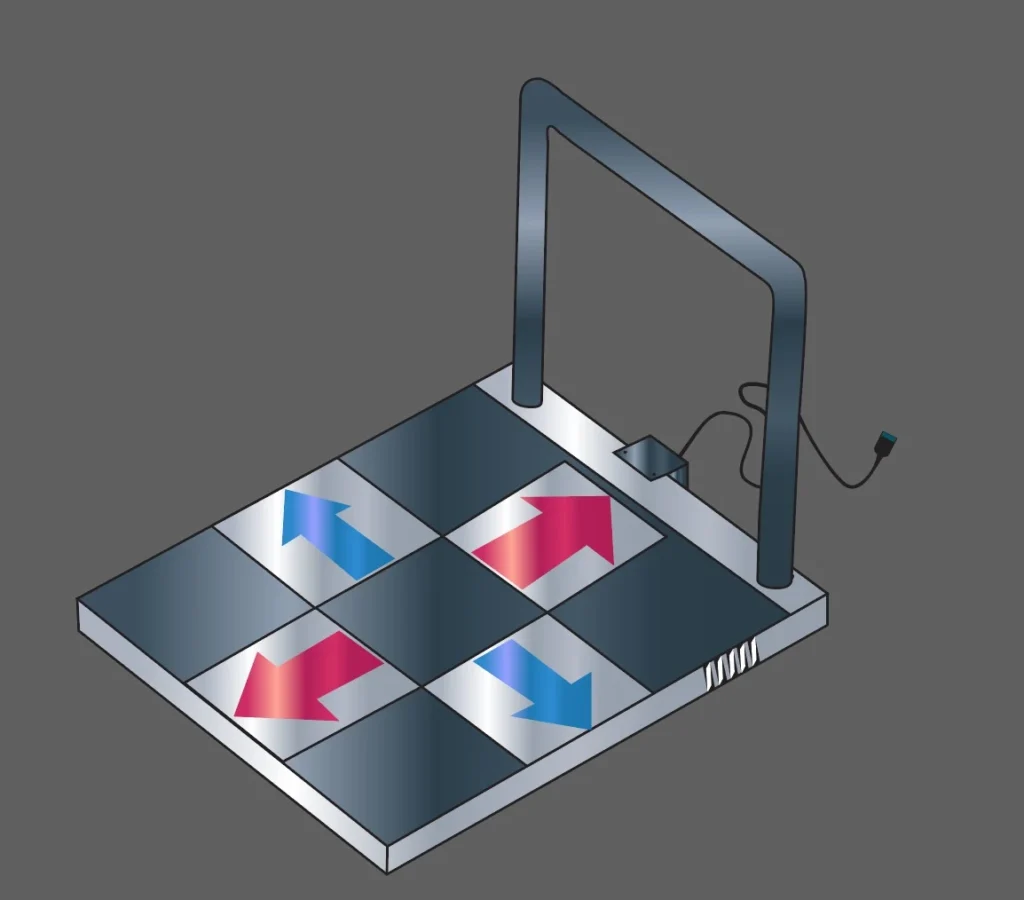
The Arduino Reactive RGB LED Floor Tiles project consists of four independent LED tile sections. Each tile uses a WS2812B RGB LED strip and a dedicated push button. When a user presses a button (simulating a footstep on a tile), the corresponding LED strip lights up with a smooth color wipe animation. Releasing the button gracefully turns the LEDs off.
This behavior creates a reactive lighting experience, making the project suitable for:
- Interactive floor tiles
- Smart architectural lighting
- Event installations
- Gaming and entertainment environments
Please Check Out Project: Pressure Sensitive RGB LED Strip Using Arduino and Velostat
Components Used in Smart RGB LED Lighting Floor Tiles Project
This project was developed using the following components:
- Arduino UNO
- 4 × WS2812B Addressable RGB LED Strips
- 4 × Push Buttons
- External 5V DC Power Supply (sized according to LED current requirements)
- Connecting wires and PCB / terminal blocks
Circuit Diagram of Arduino with WS2812B LED Strips and Buttons

Each WS2812B LED strip is connected to a separate digital output pin of the Arduino UNO:
- LED Strip 1 → Digital Pin 2
- LED Strip 2 → Digital Pin 3
- LED Strip 3 → Digital Pin 4
- LED Strip 4 → Digital Pin 5
The push buttons are connected to digital input pins:
- Button 1 → Pin 6
- Button 2 → Pin 7
- Button 3 → Pin 8
- Button 4 → Pin 9
All buttons are configured using INPUT_PULLUP, eliminating the need for external pull-down resistors. When a button is pressed, the pin reads LOW, which triggers the corresponding LED animation.
The LED strips are powered through a regulated external 5V power supply, with a common ground shared between the Arduino and the LEDs. This is a recommended practice in Smart LED Project Services to ensure stability and brightness consistency.
Arduino Code for Arduino Smart LED Floor Lighting System
#include <Adafruit_NeoPixel.h>
#ifdef __AVR__
#include <avr/power.h> // Required for 16 MHz Adafruit Trinket
#endif

#define LED_PIN1    2
#define LED_PIN2    3
#define LED_PIN3    4
#define LED_PIN4    5


#define LED_COUNT1   10
#define LED_COUNT2   10
#define LED_COUNT3   10
#define LED_COUNT4   10


// Declare our NeoPixel strip object:
Adafruit_NeoPixel strip1(LED_COUNT1, LED_PIN1, NEO_GRB + NEO_KHZ800);
Adafruit_NeoPixel strip2(LED_COUNT2, LED_PIN2, NEO_GRB + NEO_KHZ800);
Adafruit_NeoPixel strip3(LED_COUNT3, LED_PIN3, NEO_GRB + NEO_KHZ800);
Adafruit_NeoPixel strip4(LED_COUNT4, LED_PIN4, NEO_GRB + NEO_KHZ800);

Adafruit_NeoPixel currStrip;  //
int i;

#define Max_Strips 4
unsigned long pms[Max_Strips] = {0, 0, 0, 0};
int CE[Max_Strips] = {0, 0, 0, 0};


// Unchangeble Variables:
int b[Max_Strips];
int maxPixel[Max_Strips];  // Variable for color wipe, don't change
long firstPixelHue[Max_Strips];
unsigned long lastUpdateMillis = 0;
unsigned long lastMillis[Max_Strips];  // Last update time of a strip

int Btn1 = 6;
int Btn2 = 7;
int Btn3 = 8;
int Btn4 = 9;

int ON=HIGH, OFF=LOW;
Code Functionality Explanation
The firmware is built using the Adafruit NeoPixel Library, which enables precise control over each RGB LED.
1. LED Strip Configuration
Four independent Adafruit_NeoPixel objects are created, one for each floor tile. This allows individual animation control without interference.
Each strip is configured with:
- 10 LEDs
- GRB color format
- 800 kHz signal timing
2. Button-Based Reactive Control
Inside the loop() function, the Arduino continuously monitors all four buttons.
- When a button is pressed, the corresponding LED strip is activated
- When the button is released, the LEDs gradually turn off
This design mimics real-time user interaction, making it ideal for reactive floor lighting.
3. Strip Selection Logic
Functions like Strip1(), Strip2(), Strip3(), and Strip4() dynamically assign the active LED strip using a shared variable currStrip.
This approach:
- Reduces code duplication
- Makes the firmware scalable
- Simplifies future upgrades, such as adding sensors instead of buttons
4. Animation Engine
The Run_Animation() function acts as a central animation controller. Based on the selected animation code:
- Animation 0 → Red color wipe
- Animation 2 → Blue color wipe
- Animation 8 → LEDs OFF
This modular animation handling is a standard practice in Product Design and Development for embedded systems.
5. Non-Blocking Color Wipe Effect
The colorWipe() function uses the millis() timer instead of delay(). This ensures:
- Smooth animations
- Simultaneous operation of multiple LED strips
- Reliable button responsiveness
Each LED lights up progressively, creating a flowing visual effect across the floor tile.
6. Brightness Control
All LED strips are initialized with maximum brightness using setBrightness(255). This value can be adjusted easily to optimize power consumption in large installations, which is often required in Custom Electronics Project Services.
Applications of Interactive Lighting Floor Tiles Project
This Arduino-based reactive lighting system can be used in:
- Interactive LED floor tiles
- Smart home decorative lighting
- Gaming floors and VR environments
- Retail store visual engagement
- Exhibition booths and art installations
- Theme parks and entertainment zones
Such applications are increasingly in demand under Smart Lighting System solutions.
Scalability and Customization
As part of our Arduino Project Services, this project can be extended to include:
- Pressure sensors instead of buttons
- Sound-reactive lighting effects
- Wireless control using ESP32 or ESP8266
- Mobile app integration
- RGB animations synchronized across multiple tiles
Conclusion
The Arduino Reactive RGB LED Light Floor Tiles project is a perfect example of how embedded systems can be transformed into engaging, real-world interactive products. By combining Arduino UNO, WS2812B LED strips, and intelligent firmware design, we delivered a visually impressive and reliable Smart Lighting System tailored to client needs.
At Arduino Expert, we specialize in Product Design and Development, Smart LED Project Services, and Custom Electronics Project Services, turning innovative ideas into fully functional hardware solutions.
Need Help/Assistance in Custom RGB LED Tile Automation System?
If you need Floor Tiles Lightning System with or without Modifications or Customization then you can contact us through WhatsApp. We can deliver you this Project in the Following Ways.
Project Code:
we can provide you Project Code along with Zoom Assistant, through Zoom meeting for Setup of this Project.
Fully Functional Project with Hardware/Components Shipment:
if you can not make this project yourself then you can use this option. We will assemble the Project and will ship it to your Doorstep with Safe Packaging.
Learn More about the Our Services.