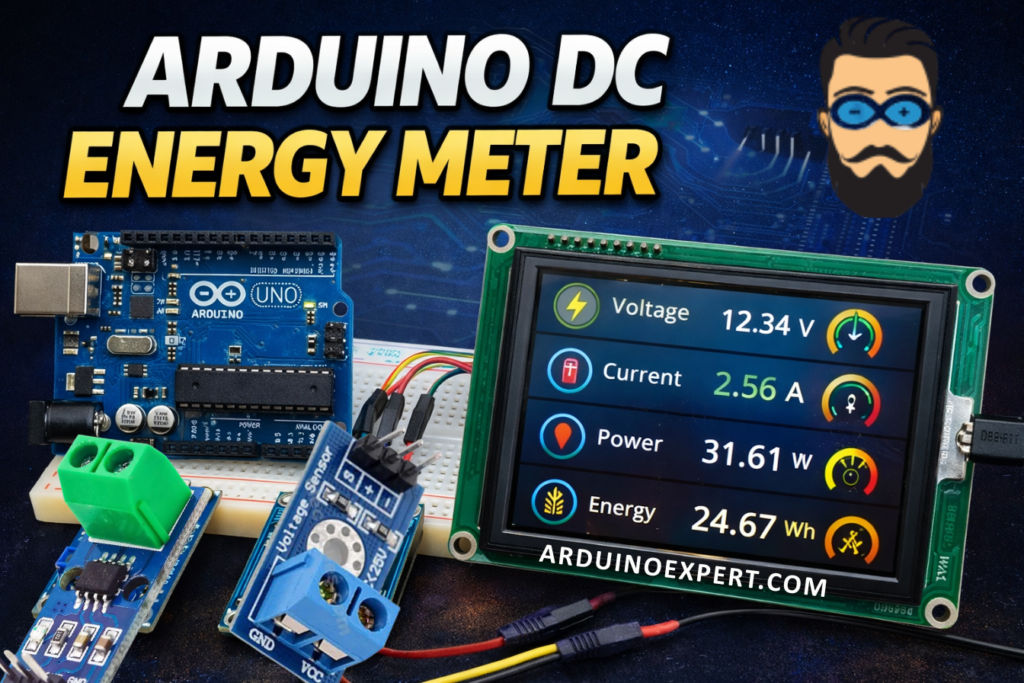
In modern electronic products, accurate energy monitoring and real-time visualization are essential requirements, especially in DC-powered systems such as solar installations, battery management units, EV subsystems, and industrial DC loads. To address this need, we developed a custom Arduino DC Energy Meter with a Nextion Display as part of our Product Design and Development Services for a client.
This project demonstrates how Arduino-based embedded systems can be transformed into market-ready energy monitoring solutions using professional sensors and advanced HMI (Human Machine Interface) displays. The system measures DC voltage, DC current, instantaneous power, and accumulated energy consumption, and presents all parameters on a high-resolution Nextion 3.5” Enhanced Touch Display.
This project is a perfect example of our Arduino Project Services, combining hardware design, firmware development, sensor calibration, and UI/UX design into a single, reliable product. If you need a AC Powered System, for example for your home, then you can check our project “Smart Energy Meter by using ESP32“. In this system you can also check the energy consumption on a IoT Dashboard, like Blynk.
Project Overview of Arduino DC Energy Meter
The Arduino DC Energy Meter is designed to monitor DC electrical parameters in real time and display them on an interactive graphical interface. The system continuously reads voltage and current values from dedicated sensors, performs internal calculations, and displays the results in a visually appealing and user-friendly format.
Measured Parameters
- DC Voltage (V)
- DC Current (A)
- DC Power (W)
- DC Energy (Wh / Ah – configurable)
This solution is suitable for custom product development, research prototypes, industrial monitoring systems, and educational platforms.
Components Used in Arduino DC Energy Meter Project
- Arduino UNO
- ACS712 DC Current Sensor (5A)
- DC Voltage Sensor Module
- Nextion 3.5” Enhanced Display
- External DC power supply
- Connecting wires and PCB/breadboard
Working Principle of Nextion Display Energy Meter
The system is built around an Arduino UNO, which acts as the central processing unit. It communicates with sensors for data acquisition and with the Nextion display for visualization.
Block-Level Operation
- Voltage Measurement
- The DC voltage sensor scales the input voltage to a safe range for the Arduino’s ADC.
- Current Measurement
- ACS712 (5A variant) measures load current using Hall-effect sensing.
- Data Processing
- Arduino calculates:
- Power = Voltage × Current
- Energy = Power × Time
- Arduino calculates:
- Display & UI
- Processed values are sent to the Nextion Enhanced Display via UART.
- User Interface
- The Nextion screen displays live values using custom-designed gauges, labels, and icons.
Nextion 3.5” Enhanced Display – Professional HMI Integration
A key highlight of this project is the integration of a Nextion 3.5” Enhanced Display, which significantly improves product usability and aesthetics.
Why Nextion for Product Design?
- High-resolution color touchscreen
- Built-in processor reduces Arduino workload
- Smooth graphical UI
- Professional look suitable for commercial products
- Reliable serial communication
Using the Nextion Editor, we designed a custom UI that displays voltage, current, power, and energy in a clean and intuitive layout—an essential factor in commercial product design and development.
DC Current Measurement Using ACS712 (5A)
The ACS712 current sensor is used for accurate DC current measurement. It operates on the Hall-effect principle, providing electrical isolation and improved safety.
Advantages of ACS712 Current Sensor
- Accurate low-current measurement
- Electrical isolation
- Suitable for battery and DC load monitoring
- Ideal for Arduino-based energy meters
Calibration was performed in firmware to ensure reliable and repeatable measurements, aligning with professional Arduino Project Services standards.
DC Voltage Measurement Module
The DC voltage sensor module scales higher voltages down to a safe 0–5V range compatible with the Arduino ADC. This allows the system to monitor higher DC voltages without damaging the controller.
Energy Calculation Logic
The Arduino firmware calculates energy consumption using real-time power integration:
- Power (W) = Voltage × Current
- Energy (Wh) = Power × Time (in hours)
This approach enables accurate DC energy tracking, which is essential in battery-powered systems and renewable energy products.
Circuit Diagram of Arduino with Current Voltage Sensor and Nextion Display
Arduino Code for Energy Meter and Nextion Display
#define ANALOG_IN_PIN A0

// Floats for ADC voltage & Input voltage
int adc_voltage = 0;
int in_voltage = 0;

// Floats for resistor values in divider (in ohms)
int R1 = 30000;
int R2 = 7500;

// Float for Reference Voltage
int ref_voltage = 5;

// Integer for ADC value
int adc_value = 0;

int adc;
int voltage;
int current = 0;

int TachometerWithDeadzone;  // Stores the gauge value after applying the deadzone.
int TachometerRemaped;       // Variable to store the gauge value after remaped.

void setup()  // Start of setup:
{

  Serial.begin(9600);  // Begin serial communication.

  delay(1000);  // We sometimes take several readings of the period to average. Since we don't have any readings
                // stored we need a high enough value in micros() so if divided is not going to give negative values.
                // The delay allows the micros() to be high enough for the first few cycles.

  // Nextion 3.5" Enhanced Display:
  // I am going to change the Serial baud to a faster rate (optional):
  Serial.print("baud=115200");  // Set new baud rate of nextion to 115200, but is temporal. Next time nextion is
                                // power on, it will restore to default baud of 9600.
                                // To take effect, make sure to reboot the arduino (resetting arduino is not enough).
                                // If you want to change the default baud, send the command as "bauds=115200", instead of "baud=115200".
                                // If you change default, everytime the nextion is power on is going to have that baud rate.
  Serial.write(0xff);           // We always have to send this three lines after each command sent to nextion.
  Serial.write(0xff);
  Serial.write(0xff);
  Serial.end();          // End the serial communication of baud=9600.
  Serial.begin(115200);  // Start serial communication at baud=115200.

}  // End of setup.
Applications of Custom Arduino DC Energy Meter
This custom-developed energy meter can be used in:
- Solar charge controllers
- Battery monitoring systems
- DC power supplies
- EV sub-systems
- Industrial DC load monitoring
- Research & development labs
- Educational training kits
- Custom IoT and embedded products
Checkout Our related nextion display Project: Smart Pressure Regulator System Using Arduino & Nextion Display
Product Design & Development Value
This project showcases our expertise in:
- Product Design and Development
- Product Design and Development Services
- Arduino Project Services
- Embedded firmware development
- HMI and UI/UX design
- Sensor calibration and data processing
By combining Arduino hardware, industrial-grade sensors, and a professional display, we deliver solutions that are scalable, reliable, and ready for commercialization.
Conclusion
The Arduino DC Energy Meter with Nextion Display is a powerful example of how Arduino-based systems can be transformed into professional-grade energy monitoring products. Designed and developed as a client project, this solution reflects our commitment to delivering high-quality Product Design and Development Services.
If you are looking for custom Arduino projects, energy monitoring solutions, or embedded product development, please visit our Custom Electronics & IoT Project Development Services Page.
Need Help in Arduino-Based DC Power & Energy Monitoring Project?
If you need this Arduino DC Energy Meter Project with or without Modifications or Customization then you can contact us through WhatsApp.
We can provide you Project Code along with Zoom Assistant, through Zoom meeting for Setup of this Project or any other Arduino Project of your need.
Learn More about the services we offer.