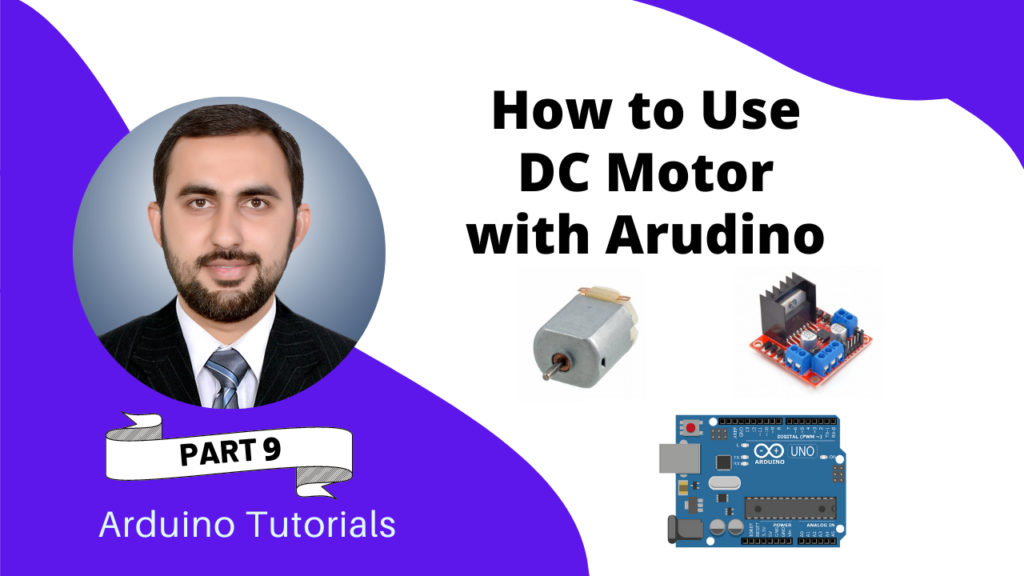
Controlling a DC motor with Arduino is a fundamental skill for any electronics hobbyist or robotics enthusiast. Whether you’re building a smart car, a fan system, or an automated robot arm, DC motors are everywhere in the world of DIY electronics.
In this tutorial, we will learn about how to use DC motor with Arduino. The Arduino board will provide the current of 5V. So, if you want to use a 9V or 12V DC motor you have to use the motor drivers like L293D along with External Power Supply.

What is a DC Motor?
DC stands for Direct Current motor. It is the most common type of motor. DC motor has two connections, 1 positive and 1 negative. If you give the positive side in +ve current and the negative side in -ve current, motor will move clockwise. And if tou give the positive side in -ve current and the negative side in +ve current, motor will move in anti-clockwise direction. A DC motor converts electrical energy into mechanical energy. It spins in one direction when current flows one way and reverses when the current is flipped — making it ideal for bidirectional control applications.

Components needed for using DC Motor with Arduino:
- 1 × Arduino Uno (or compatible board)
- 1 × L298N Motor Driver Module
- 1 × DC Motor (3–12V)
- External Power Supply (e.g., 9V battery or 12V adapter)
- Jumper Wires
- Breadboard (optional)
Why Use the L298N Motor Driver?
The L298N Dual H-Bridge Motor Driver Module allows Arduino to control the speed and direction of two DC motors independently. It’s one of the most widely used motor drivers because it. We can drive 2 DC motors with L298n.
- Is affordable and easy to use
- Handles up to 2A per channel
- Can control 2 DC motors or 1 stepper motor
- Has built-in diodes and a 5V regulator.
| Pin | Description |
|---|---|
| IN1, IN2 | Motor A Direction Control Pins |
| ENA | Motor A Speed Control (PWM) |
| OUT1, OUT2 | Connect to DC Motor Terminals |
| VCC | Motor Power Supply (e.g., 12V) |
| GND | Common Ground |
| 5V | Output Regulated 5V (when jumper is used) |

Circuit Diagram for using DC Motor with Arduino:
| L298N Pin | Connects To |
|---|---|
| IN1 | Arduino Pin 8 |
| IN2 | Arduino Pin 9 |
| ENA | Arduino Pin 10 (PWM) |
| OUT1 | DC Motor Terminal 1 |
| OUT2 | DC Motor Terminal 2 |
| VCC | External 12V Power |
| GND | Arduino GND & Power GND |
| 5V | Leave jumper ON |

Arduino Code for DC Motor Speed & Direction Control:
// L298N Motor Driver connections
const int in1 = 8;
const int in2 = 9;
const int ena = 10; // PWM pin

void setup() {
  pinMode(in1, OUTPUT);
  pinMode(in2, OUTPUT);
  pinMode(ena, OUTPUT);
}

void loop() {
  // Rotate forward
  digitalWrite(in1, HIGH);
  digitalWrite(in2, LOW);
  analogWrite(ena, 200); // Speed (0-255)
  delay(2000);

  // Stop
  analogWrite(ena, 0);
  delay(1000);

  // Rotate backward
  digitalWrite(in1, LOW);
  digitalWrite(in2, HIGH);
  analogWrite(ena, 200);
  delay(2000);

  // Stop
  analogWrite(ena, 0);
  delay(1000);
}
DC Motor With Arduino Video Tutorial:
Troubleshooting for DC Motor with Arduino:
| Problem | Solution |
|---|---|
| Motor doesn’t move | Check power supply to L298N (must be 6V–12V) |
| Motor runs only in one direction | Verify IN1 & IN2 logic |
| No speed control | Ensure ENA is connected to a PWM-capable pin |
| Arduino resets when motor starts | Use separate power source for motor and Arduino |
Applications of DC Motor:
Here are some project ideas where you can use this setup:
- Smart Cars and Robots – For directional control of wheels
- Automated Blinds or Fans – Adjust position or airflow
- Conveyor Belts – Move objects in DIY automation setups
- RC Boats and Planes – DC motors are common for propulsion
Conclusion:
Using a DC motor with Arduino and L298N driver gives you full control over direction and speed. It’s beginner-friendly yet powerful enough for advanced robotics and automation projects.
Whether you’re building your first robot or a DIY home automation project, this setup is a must-know technique for every Arduino enthusiast.
Need Help in Setup of DC Motor with Arduino?
If you need any Help or Assistance for Setup of DC Motor with Arduino, with Modifications or Customization then you can contact us through WhatsApp. We can deliver you this Project in the Following Ways.
Learn More about the services we offer.


Good day! I just want to offer you a big thumbs up for your excellent information you have got here on this post. Ill be coming back to your blog for more soon.